Again, this is an additional domain and email address that is being added to my already established Office 365 account. The intent is to have all of my various email accounts aggregate into one mail box. I will also show how to get POP3 email into this one account as well as some tips I used to make mail management a lot easier in another blog post.
So, here is what I did:
First, I logged into my freshly new Office 365 tenant and went to Admin / Office 365:
Then on the left side of the screen you will see a place for you to click on called "Domains":
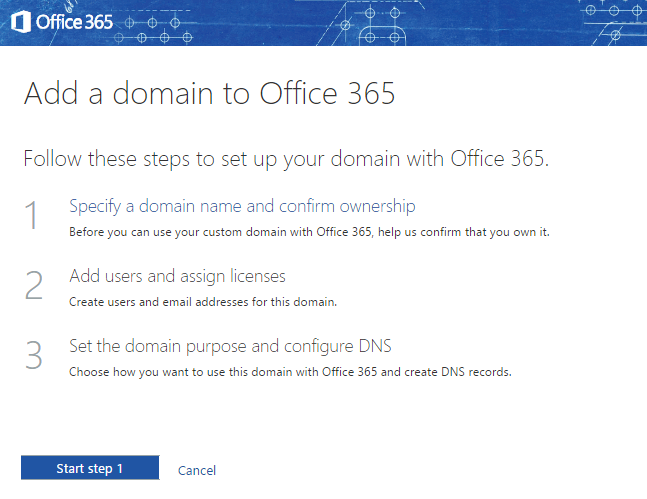
You will then be presented with the following screen. These are the three steps you need to take in order to get your domain set up.
Once Step 1 is selected, you will be presented with the following dialog. Enter the domain name you want to start to use with Office 365. I used a domain of a business I used to have but still get email through:
Office 365 will interface with most registrars to make your DNS modifications to allow email to flow to Office 365.
Once you continue, you will see a dialog box that is generated by GoDaddy (my registrar and where I maintain my DNS):
Just click ACCEPT and voila:
Now, what you can do is start adding user accounts. BUT... I chose not to - Keep reading:
Because I just have one mailbox license for Office 365 and I have it configured with another email address with another domain, I will choose not to add any users. What I will do instead is configure Office 365 to direct all inbound email to this domain to my primary email account. This will become apparent later in this post.
This step sets up the DNS information properly. It will want to know how you want to use Office 365 with this domain and then make the appropriate DNS modifications - see the next three screen shots:
There you have it - Now your domain is configured to be used with Office 365!
You will now have to configure Office 365 to be able to accept inbound email from this new domain and then determine what happens to the email. Additionally, you will need to configure Office 365 to be able to send from this domain as well. I will be covering all of this in my NEXT blog post, so stay tuned!
** Remember, this is a second domain and email address that is being added to my already established Office 365 account. The intent is to have all of my various email accounts aggregate into one mail box. I will also show how to get POP3 email into this one account as well as some tips I used to make mail management a lot easier.


